Mastering the art of roasting meat to perfection is a culinary skill that can elevate your cooking to new heights. The secret weapon in achieving consistently delicious results? A reliable meat thermometer. This essential kitchen tool takes the guesswork out of cooking, ensuring your roasts are not only safe to eat but also cooked to your desired level of doneness. Whether you’re tackling a prime rib for a special occasion or preparing a weeknight chicken dinner, understanding how to use a meat thermometer effectively can make all the difference.
Types of meat thermometers for precision roasting
When it comes to choosing the right meat thermometer for your roasting needs, there are several options available, each with its own set of advantages. Understanding these different types will help you select the best tool for your cooking style and preferences.
Instant-read digital thermometers are perhaps the most versatile and widely used. These handheld devices provide quick temperature readings within seconds of insertion into the meat. They’re ideal for spot-checking temperatures throughout the cooking process and are particularly useful for thinner cuts or when you need to check multiple areas of a large roast.
Leave-in probe thermometers offer continuous temperature monitoring without the need to open the oven door. These typically consist of a probe that remains in the meat during cooking, connected to a digital display unit outside the oven. Many models come with programmable alarms that alert you when the meat reaches the desired temperature, making them perfect for longer roasting times.
For the tech-savvy cook, wireless Bluetooth or Wi-Fi-enabled thermometers represent the cutting edge. These devices allow you to monitor your roast’s temperature from your smartphone or tablet, offering unparalleled convenience and precision. Some even come with multiple probes for monitoring different parts of the roast simultaneously.
Analog dial thermometers, while less precise than their digital counterparts, are still a reliable option for those who prefer a more traditional approach. They can be left in the meat during cooking and are often more durable than electronic models.
Calibrating and testing thermometer accuracy
Ensuring your meat thermometer provides accurate readings is crucial for achieving consistently perfect roasts. Even high-quality thermometers can drift out of calibration over time, so it’s essential to check and adjust them periodically.
The ice water test is a simple method to verify your thermometer’s accuracy at low temperatures. Fill a glass with ice cubes and add cold water. Insert the thermometer probe into the mixture, being careful not to touch the sides or bottom of the glass. The temperature should read 0°C (32°F). If it doesn’t, consult your thermometer’s manual for calibration instructions.
For high-temperature calibration, the boiling water test is equally effective. Bring a pot of water to a rolling boil and insert the thermometer probe. At sea level, it should read 100°C (212°F). Remember that altitude affects the boiling point of water, so adjust your expectations accordingly if you’re at a higher elevation.
Digital thermometers often have a calibration feature built-in, allowing for easy adjustment. For analog thermometers, you may need to adjust the nut under the dial to align the needle with the correct temperature.
Regular calibration ensures your thermometer remains a trustworthy tool in your culinary arsenal, providing the precision needed for perfectly cooked roasts every time.
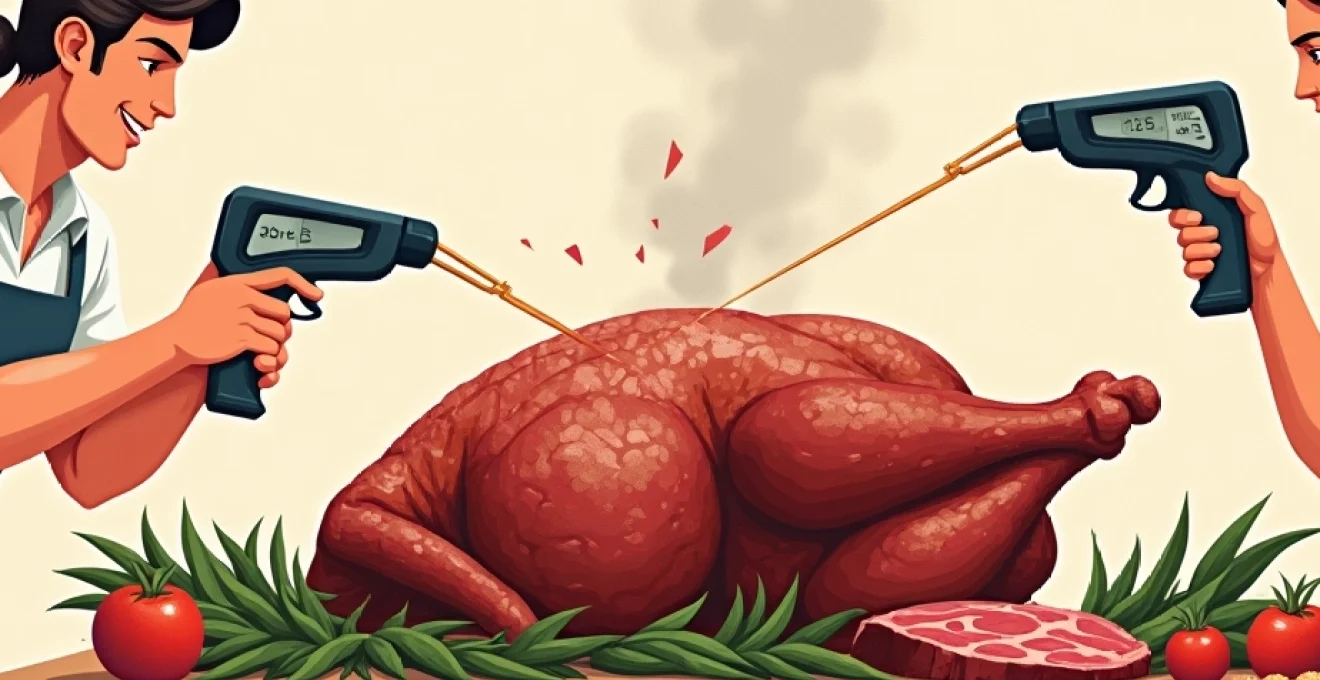
Optimal probe placement techniques for various cuts
Proper placement of your meat thermometer’s probe is critical for obtaining accurate temperature readings and achieving the desired level of doneness in your roasts. Different cuts of meat require specific techniques to ensure you’re measuring the true internal temperature.
Inserting probes in prime rib and ribeye roasts
For large cuts like prime rib or ribeye roasts, insert the thermometer probe into the thickest part of the meat, avoiding fat pockets and bones. Aim for the center of the roast, as this area will be the last to reach the target temperature. If using a leave-in probe, position it so that the tip is in the center of the thickest part, entering from the side of the roast rather than the top to prevent juices from escaping.
Thermometer positioning for poultry: breast vs thigh
When roasting a whole bird, such as turkey or chicken, proper thermometer placement is crucial for food safety. Insert the probe into the thickest part of the thigh, avoiding contact with bone. The thigh is typically the slowest part of the bird to cook, making it an ideal spot for temperature monitoring. For a comprehensive check, also measure the thickest part of the breast, as white meat cooks faster than dark meat.
Monitoring internal temperature in pork shoulder and loin
For pork shoulder, which is often used for pulled pork, insert the thermometer probe into the thickest part, away from any bone or fat cap. In a pork loin roast, place the probe in the center of the cut, entering from the side to minimize juice loss. Remember that pork can be safely consumed at a lower temperature than traditionally thought, allowing for juicier results.
Probe placement for lamb leg and rack
When roasting a leg of lamb, insert the thermometer into the thickest part of the meat, avoiding the bone. For a rack of lamb, carefully place the probe between the rib bones into the eye of the meat. Due to the variable thickness of lamb cuts, it’s wise to check multiple spots to ensure even cooking.
Temperature targets and resting times by meat type
Understanding the ideal internal temperatures for different types of meat is crucial for achieving the perfect roast. However, it’s equally important to consider resting times, which allow for carryover cooking and proper redistribution of juices.
USDA recommended temperatures vs chef preferences
The USDA provides temperature guidelines to ensure food safety, but many chefs and culinary experts recommend slightly lower temperatures for optimal flavor and texture. Here’s a comparison:
| Meat Type | USDA Recommendation | Chef Preference |
|---|---|---|
| Beef (Medium-Rare) | 145°F (63°C) | 130-135°F (54-57°C) |
| Pork | 145°F (63°C) | 140°F (60°C) |
| Poultry | 165°F (74°C) | 150-155°F (66-68°C) for white meat |
| Lamb (Medium) | 145°F (63°C) | 135-140°F (57-60°C) |
It’s important to note that consuming undercooked meat carries health risks, particularly for vulnerable populations. Always use your best judgment and consider the source and quality of your meat when deciding on target temperatures.
Carryover cooking and temperature rise during rest
Carryover cooking refers to the phenomenon where meat continues to cook even after it’s removed from the heat source. This temperature rise can be significant, often between 5-10°F (3-5°C), depending on the size and type of the roast. To account for this, it’s recommended to remove your roast from the oven when it’s about 5°F (3°C) below your target temperature.
Resting times vary based on the size of the roast:
- Small cuts (steaks, chops): 5-10 minutes
- Medium roasts (3-5 lbs): 10-20 minutes
- Large roasts (6-10 lbs): 20-30 minutes
- Whole poultry: 20-30 minutes
During this resting period, the internal temperature will continue to rise, and the juices will redistribute throughout the meat, resulting in a more evenly cooked and juicier roast.
Adjusting for doneness: rare to Well-Done guidelines
Different levels of doneness require different target temperatures. Here’s a general guide for beef roasts:
- Rare: 125°F (52°C)
- Medium-Rare: 135°F (57°C)
- Medium: 145°F (63°C)
- Medium-Well: 150°F (66°C)
- Well-Done: 160°F (71°C)
Remember to factor in carryover cooking when aiming for these temperatures. For example, if you’re aiming for a medium-rare prime rib, you might remove it from the oven at 130°F (54°C), knowing it will rise to 135°F (57°C) during resting.
The key to perfectly cooked roasts lies in understanding your meat thermometer, respecting target temperatures, and allowing for proper resting times.
Advanced thermometer features for foolproof roasting
As technology advances, meat thermometers are becoming increasingly sophisticated, offering features that can significantly enhance your roasting experience. These advanced tools can provide unprecedented precision and convenience, making it easier than ever to achieve restaurant-quality results at home.
Wireless bluetooth and Wi-Fi enabled models
Wireless meat thermometers represent a significant leap forward in roasting technology. These devices connect to your smartphone or tablet via Bluetooth or Wi-Fi, allowing you to monitor your roast’s temperature from anywhere in your home. Some models even offer cloud connectivity, enabling you to check on your roast while you’re away from home.
Key advantages of wireless thermometers include:
- Real-time temperature monitoring without opening the oven
- Customizable alerts and notifications
- Historical data logging for improved cooking consistency
- Access to recipes and cooking guides through companion apps
When choosing a wireless thermometer, consider the range of connectivity, battery life, and compatibility with your devices. Some high-end models can maintain a connection up to 300 feet away, ensuring you never lose track of your roast’s progress.
Multi-probe systems for simultaneous monitoring
For those tackling complex roasts or cooking multiple cuts simultaneously, multi-probe thermometer systems are invaluable. These devices typically feature two to four temperature probes that can be used independently, allowing you to monitor different parts of a large roast or multiple dishes at once.
Multi-probe systems are particularly useful for:
- Monitoring both the meat and oven temperature
- Ensuring even cooking in different parts of a large roast
- Cooking multiple cuts to different levels of doneness
- Tracking temperatures in smokers or barbecues where heat distribution can vary
When using a multi-probe system, label your probes clearly to avoid confusion and ensure accurate temperature tracking for each cut or dish.
Programmable alarms and temperature alerts
Many advanced meat thermometers now offer programmable alarms and customizable temperature alerts. These features allow you to set specific temperature targets for different types of meat and receive notifications when those temperatures are reached.
Some sophisticated models even allow you to set up multi-stage cooking profiles. For example, you might program the thermometer to alert you when it’s time to increase the oven temperature for the final searing phase of your roast.
Key benefits of programmable alarms include:
- Reduced risk of overcooking
- Ability to multitask while roasting
- Consistent results across multiple cooking sessions
- Customization for personal preferences in doneness
When setting up alarms, remember to account for carryover cooking by setting your target temperature slightly lower than your desired final temperature.
Troubleshooting common meat thermometer issues
Even with the most advanced meat thermometers, issues can occasionally arise. Understanding how to troubleshoot common problems can save your roast and ensure you’re always getting accurate readings.
If you’re experiencing inconsistent or clearly inaccurate readings, start by checking the battery if you’re using a digital thermometer. Low battery power can often lead to erratic behavior. For both digital and analog thermometers, ensure the probe is clean and free from any residue that might affect its accuracy.
Another common issue is temperature drift over time. Regular calibration, as discussed earlier, can help prevent this problem. If your thermometer consistently reads high or low across its entire range, it may be time for recalibration or replacement.
For wireless thermometers, connectivity issues can be frustrating. Ensure your device’s firmware is up to date, and try resetting the connection if you’re experiencing dropouts. Sometimes, simply moving the receiver closer to the transmitter can resolve connectivity problems.
If you’re using a leave-in probe and notice sudden temperature spikes or drops, check that the probe hasn’t slipped out of position or come into contact with bone or fat. Repositioning the probe can often resolve these issues.
Remember that different parts of a large roast can have significantly different temperatures. If you’re getting unexpected readings, try checking multiple spots to get a more comprehensive understanding of your roast’s doneness.
Lastly, if you’re consistently achieving results that don’t match your expectations despite following temperature guidelines, consider factors like oven calibration, meat quality, and personal preferences. Adjusting your target temperatures slightly can often help you achieve the perfect roast for your taste.
By mastering the use of meat thermometers and understanding how to troubleshoot common issues, you’ll be well-equipped to create perfectly roasted meats every time. Whether you’re using a simple analog dial or a sophisticated wireless system, the key lies in understanding your tool, respecting the science of cooking temperatures, and trusting your instincts as a cook. With practice and attention to detail, you’ll soon find yourself producing restaurant-quality roasts with confidence and consistency.